| Article ID | Journal | Published Year | Pages | File Type |
|---|---|---|---|---|
| 1701556 | Procedia CIRP | 2012 | 4 Pages |
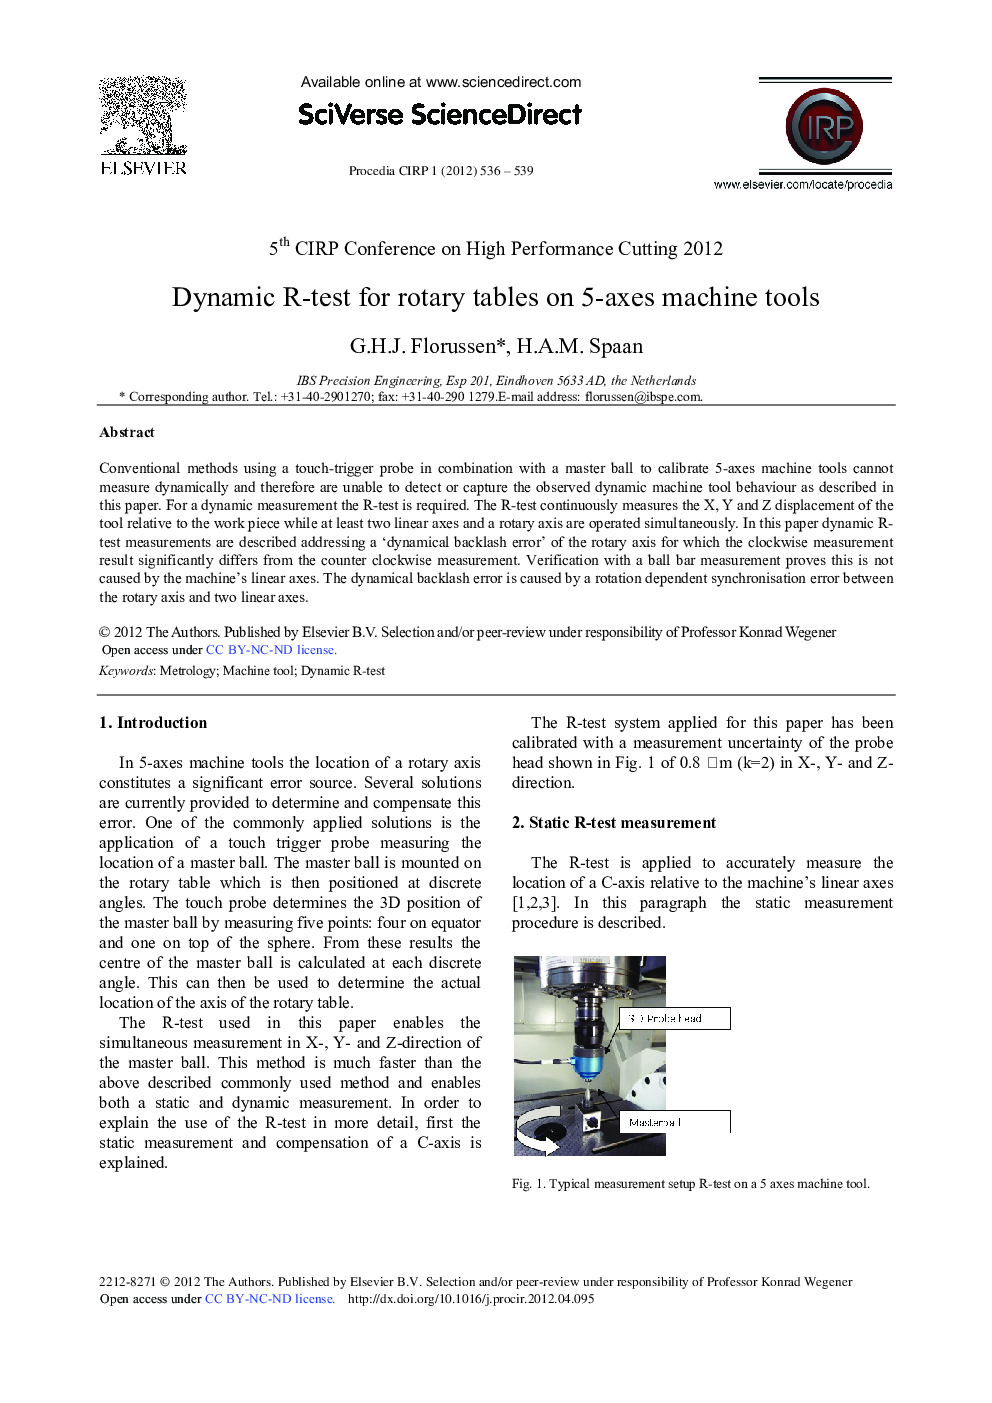
Conventional methods using a touch-trigger probe in combination with a master ball to calibrate 5-axes machine tools cannot measure dynamically and therefore are unable to detect or capture the observed dynamic machine tool behaviour as described in this paper. For a dynamic measurement the R-test is required. The R-test continuously measures the X, Y and Z displacement of the tool relative to the work piece while at least two linear axes and a rotary axis are operated simultaneously. In this paper dynamic R-test measurements are described addressing a ‘dynamical backlash error’ of the rotary axis for which the clockwise measurement result significantly differs from the counter clockwise measurement. Verification with a ball bar measurement proves this is not caused by the machine's linear axes. The dynamical backlash error is caused by a rotation dependent synchronisation error between the rotary axis and two linear axes.
