| کد مقاله | کد نشریه | سال انتشار | مقاله انگلیسی | نسخه تمام متن |
|---|---|---|---|---|
| 10420468 | 904998 | 2005 | 12 صفحه PDF | دانلود رایگان |
عنوان انگلیسی مقاله ISI
Correcting capacitive displacement measurements in metrology applications with cylindrical artifacts
دانلود مقاله + سفارش ترجمه
دانلود مقاله ISI انگلیسی
رایگان برای ایرانیان
کلمات کلیدی
موضوعات مرتبط
مهندسی و علوم پایه
سایر رشته های مهندسی
مهندسی صنعتی و تولید
پیش نمایش صفحه اول مقاله

چکیده انگلیسی
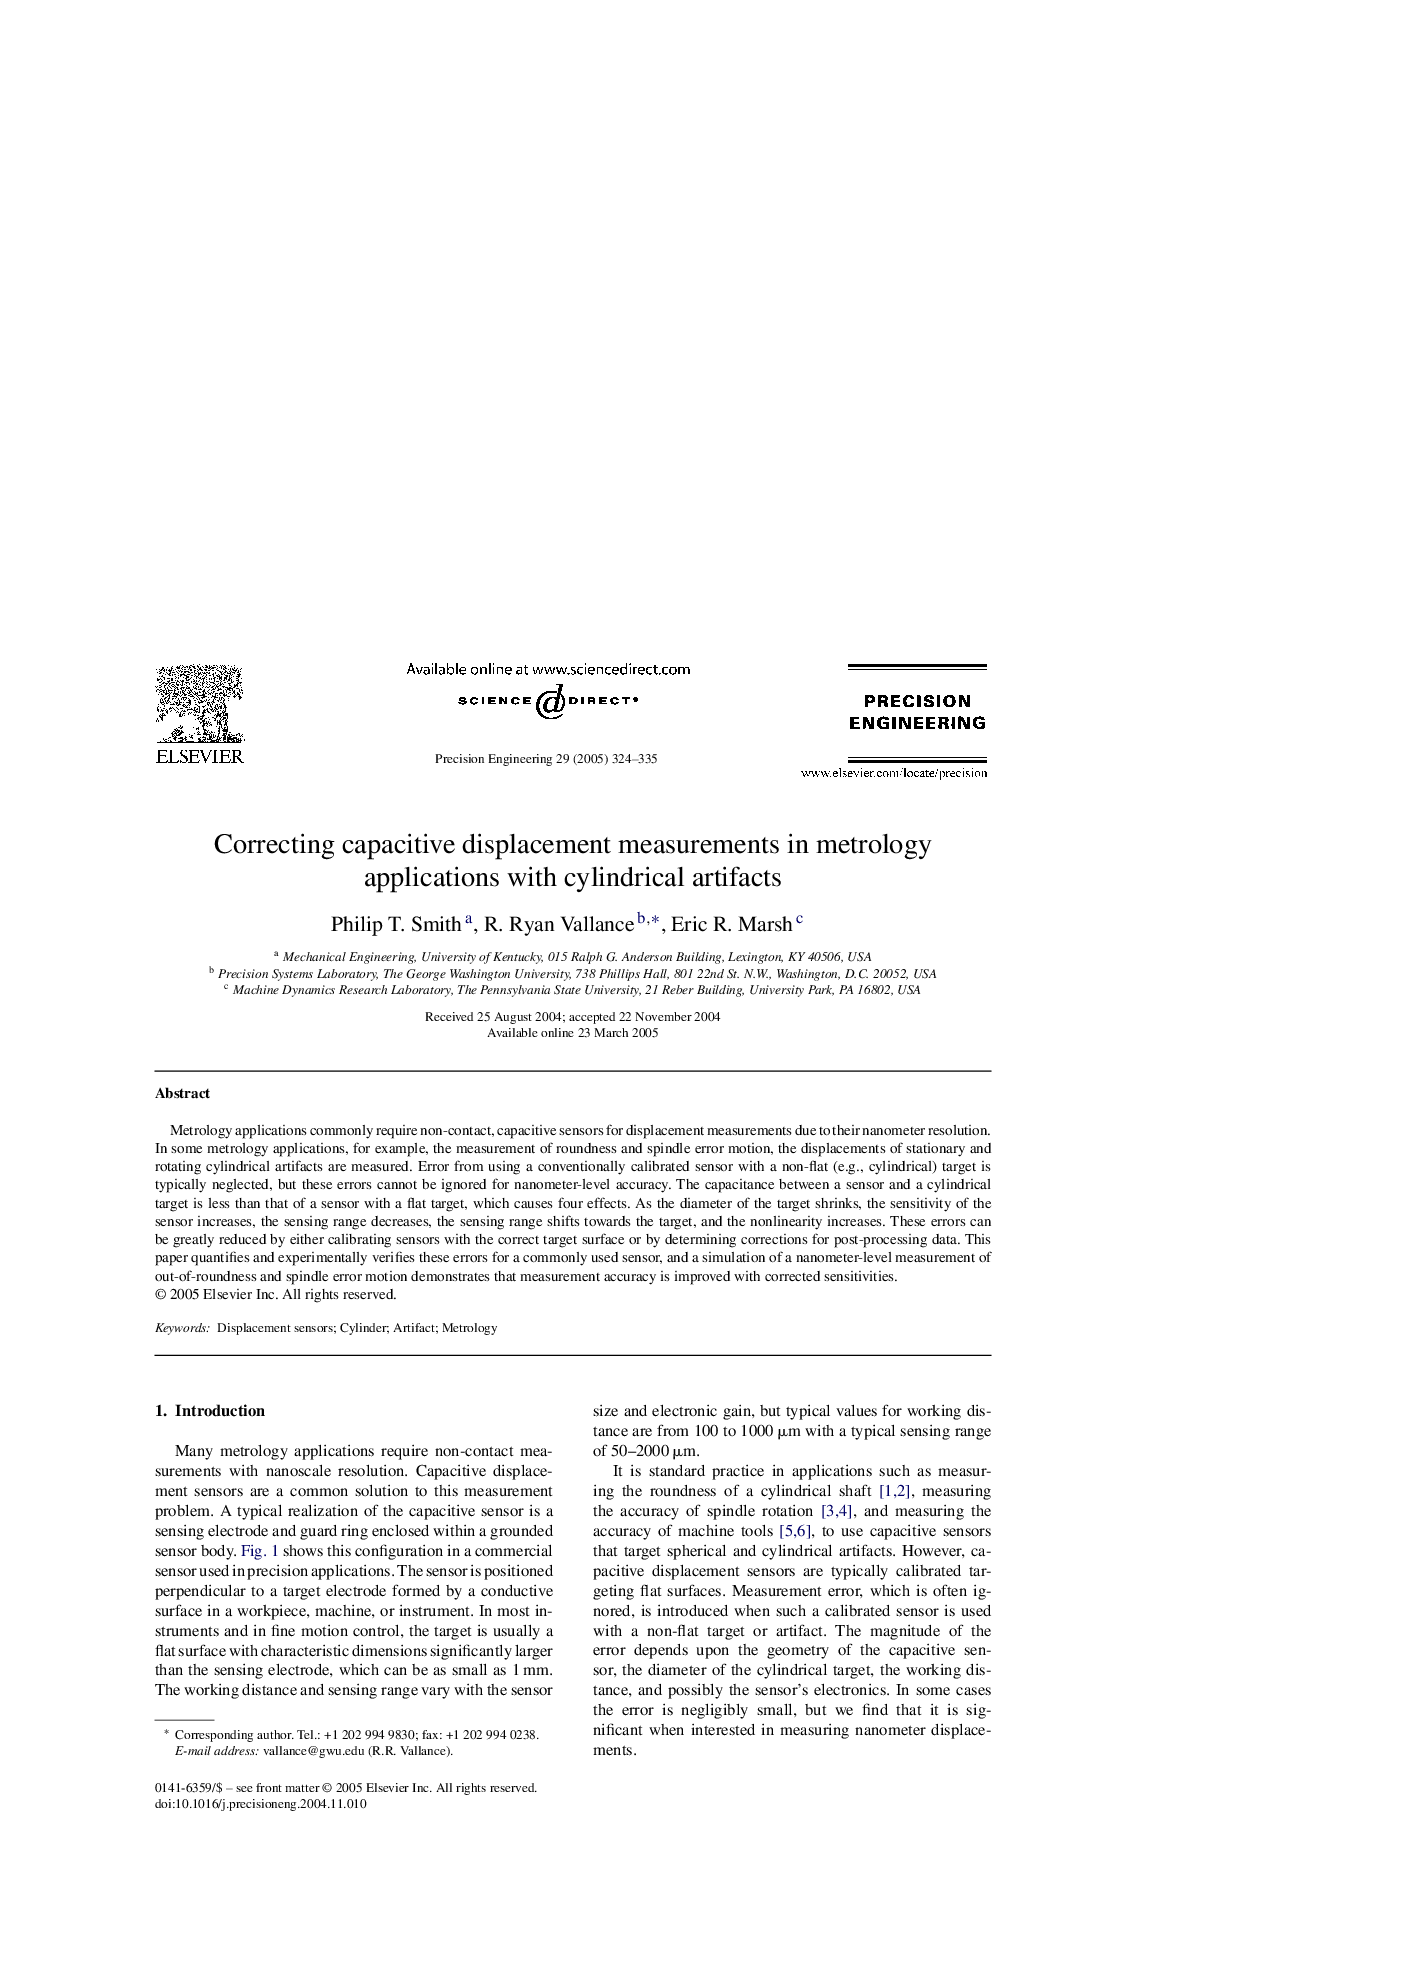
Metrology applications commonly require non-contact, capacitive sensors for displacement measurements due to their nanometer resolution. In some metrology applications, for example, the measurement of roundness and spindle error motion, the displacements of stationary and rotating cylindrical artifacts are measured. Error from using a conventionally calibrated sensor with a non-flat (e.g., cylindrical) target is typically neglected, but these errors cannot be ignored for nanometer-level accuracy. The capacitance between a sensor and a cylindrical target is less than that of a sensor with a flat target, which causes four effects. As the diameter of the target shrinks, the sensitivity of the sensor increases, the sensing range decreases, the sensing range shifts towards the target, and the nonlinearity increases. These errors can be greatly reduced by either calibrating sensors with the correct target surface or by determining corrections for post-processing data. This paper quantifies and experimentally verifies these errors for a commonly used sensor, and a simulation of a nanometer-level measurement of out-of-roundness and spindle error motion demonstrates that measurement accuracy is improved with corrected sensitivities.
ناشر
Database: Elsevier - ScienceDirect (ساینس دایرکت)
Journal: Precision Engineering - Volume 29, Issue 3, July 2005, Pages 324-335
Journal: Precision Engineering - Volume 29, Issue 3, July 2005, Pages 324-335
نویسندگان
Philip T. Smith, R. Ryan Vallance, Eric R. Marsh,